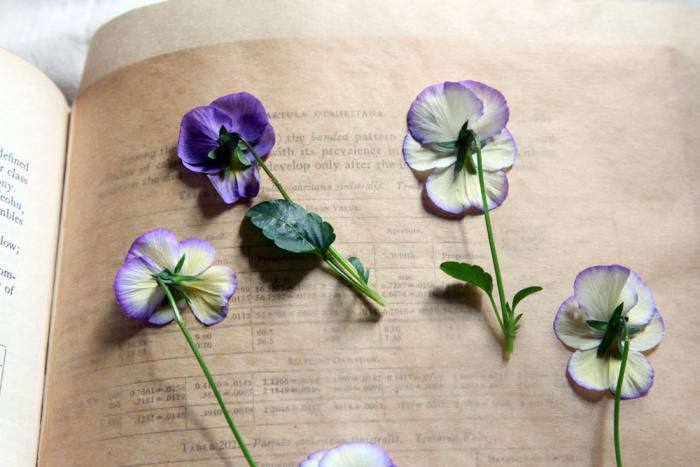
Pressed violas have an old-fashioned air about them, which is probably why I like them so much. Here’s how to make easy DIY pressed flower bookmarks:
Photography by Erin Boyle.

Above: The same delicacy that makes violas and violets fragile cut flowers makes them a perfect to press and dry.

Above: When selecting the flowers that you’d like to dry, choose blossoms that are clean and fresh. Resist the temptation to use flowers that are already past their prime because wilted petals will be difficult to flatten neatly. For more suggestions, see Pansies: A Cheap Date.

Above: I love the look of pressed flowers with leaves still attached. I gently peeled back extra leaves until I had a shape I thought would look nice after it was pressed.

Above: A flower press is a lovely thing to have–and not so very hard to make on your own–but using an old book to press flowers is just as easy and only takes up as much room as the book you use. Use two sheets of parchment or waxed paper to sandwich flowers between the book’s pages.

Above: Lay flowers face down on one piece of paper keep them from moving as you close the cover.

Above: I placed the flowers on a page at the back of my book so there would be plenty of weight above them after it was closed. Then I returned the book to its place on the shelf and waited.

Above: For thin flowers such as violas or pansies, a week or 10 days is all you really need to wait.

Above: Keep in mind that flowers will darken as they dry. The whites of the Coconut Swirl violas became more noticeably yellow. After they’re dry, pressed flowers will be brittle. Use extra care when moving them off the parchment paper.

Above: After your flowers are dried, you can glue them to thank you notes or place cards as an impressive embellishment or use them as delicate bookmarks.
For more easy springtime DIYs, see:
- DIY: Sugared Violets.
- Trend Alert: Black Pussy Willow.
- DIY: Shade Tolerant Herbs to Grow in an Apartment.
- Add Edible Flowers to a Salad.
For a mobile-first version of this post, check out this content as a web story, or browse all our web stories.


Have a Question or Comment About This Post?
Join the conversation