Icon - Arrow LeftAn icon we use to indicate a rightwards action. Icon - Arrow RightAn icon we use to indicate a leftwards action. Icon - External LinkAn icon we use to indicate a button link is external. Icon - MessageThe icon we use to represent an email action. Icon - Down ChevronUsed to indicate a dropdown. Icon - CloseUsed to indicate a close action. Icon - Dropdown ArrowUsed to indicate a dropdown. Icon - Location PinUsed to showcase a location on a map. Icon - Zoom OutUsed to indicate a zoom out action on a map. Icon - Zoom InUsed to indicate a zoom in action on a map. Icon - SearchUsed to indicate a search action. Icon - EmailUsed to indicate an emai action. Icon - FacebookFacebooks brand mark for use in social sharing icons. flipboard Icon - InstagramInstagrams brand mark for use in social sharing icons. Icon - PinterestPinterests brand mark for use in social sharing icons. Icon - TwitterTwitters brand mark for use in social sharing icons. Icon - Check MarkA check mark for checkbox buttons.
You are reading

Houseplant Help: Is It OK to Reuse Potting Soil?

Search

Houseplant Help: Is It OK to Reuse Potting Soil?

January 28, 2020

When repotting a houseplant or transplanting seedlings to a window box, the urban gardener has to answer a basic container-gardening question: Is it OK to reuse potting soil? Or should I start fresh?

The basic answer is yes, it’s possible to reuse potting soil. But first do a few things to perk it up–and replace its nutrients. Here’s how:

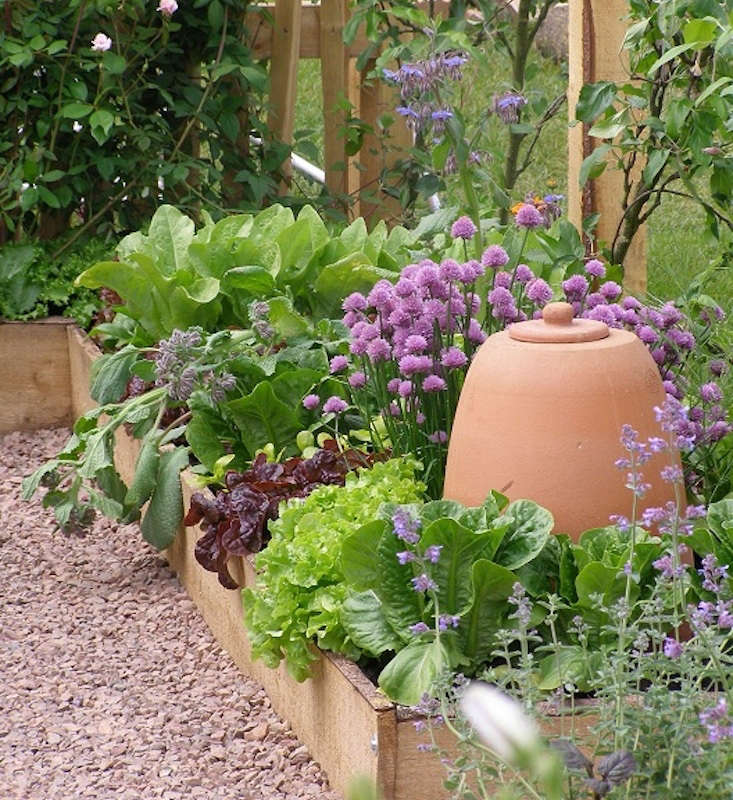
Photography by Erin Boyle.

1. Remove old plant matter (roots, twigs, leaves).

I transplant spring bulbs from their nursery pots to my window box, where they will bloom.
Above: I transplant spring bulbs from their nursery pots to my window box, where they will bloom.

I plucked from the window box the dried-up winter greens I had used to decorate it in January.
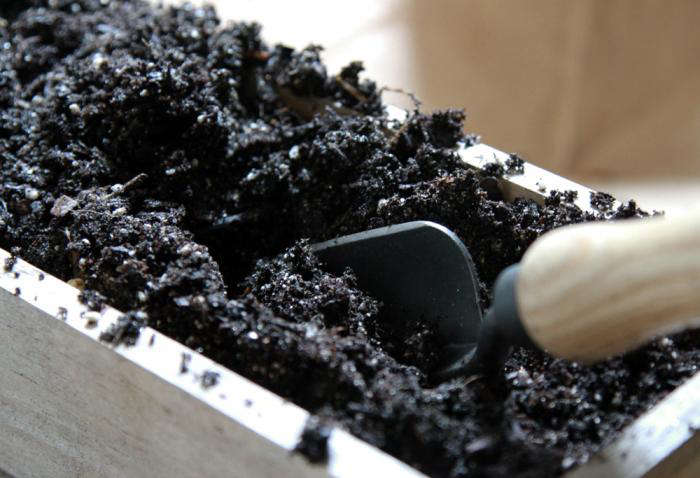
2. Fluff the soil.

Soil remediation under way.
Above: Soil remediation under way.

OK. ready to begin the soil remediation. Basic science tells us that plants use the nutrients in soil to grow. Over time, reusing the same potting soil in container gardening can deplete the nutrient stores in the soil and result in lackluster plants. Luckily, there’s no need to do a wholesale soil dump each spring.

To prep the box, I used a trowel to turn my soil. Turning the soil had the dual purpose of making sure that it wasn’t invested with bugs–in which case a dump might be worth it—and making sure that the soil is light and fluffy. Hard and compacted soil doesn’t leave enough room for roots to grow, so this step is crucial. Use a sturdy trowel; a Transplant Trowel from DeWit, similar to mine, is $35.50 from Garrett Wade.

3. Add nutrients to the soil.

To amend the soil, you can also add compost that you blend yourself at home or purchase from a farmer friend.
Above: To amend the soil, you can also add compost that you blend yourself at home or purchase from a farmer friend.

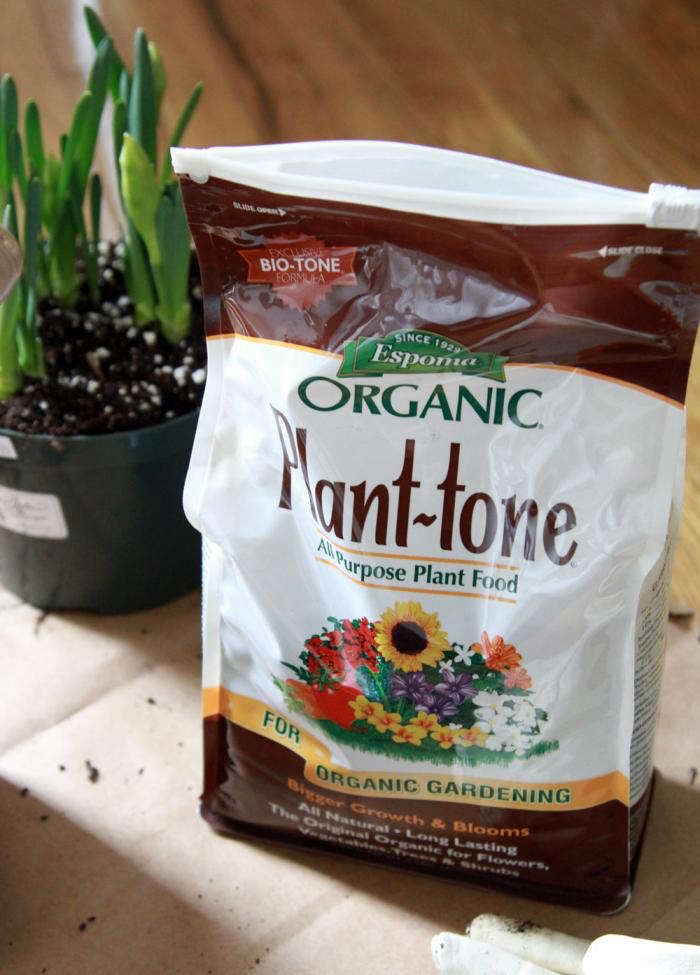
After I “tilled” my window box soil, I added a soil amendment. From a local shop, I bought a small bag of Plant-Tone Organic Plant Food (a four-pound bag is $9.84 from Amazon). The mixture is an organic blend of bone meal, feather meal, poultry manure, and other stuff that smells a little funny but will return to the soil the nutrients that it might have lost.

4. Blend well.

I added about a cup and half of plant food to my soil and mix it well. This is definitely an occasion for breaking out the garden gloves: mine are Gardener&#8\2\17;s Goat Skin Work Gloves, \$40 from Womanswork. I knew that I&#8\2\17;d be adding potted plants with fresh soil already attached to their roots, so at this stage I scooped out some of the old soil to make room.
Above: I added about a cup and half of plant food to my soil and mix it well. This is definitely an occasion for breaking out the garden gloves: mine are Gardener’s Goat Skin Work Gloves, $40 from Womanswork. I knew that I’d be adding potted plants with fresh soil already attached to their roots, so at this stage I scooped out some of the old soil to make room.

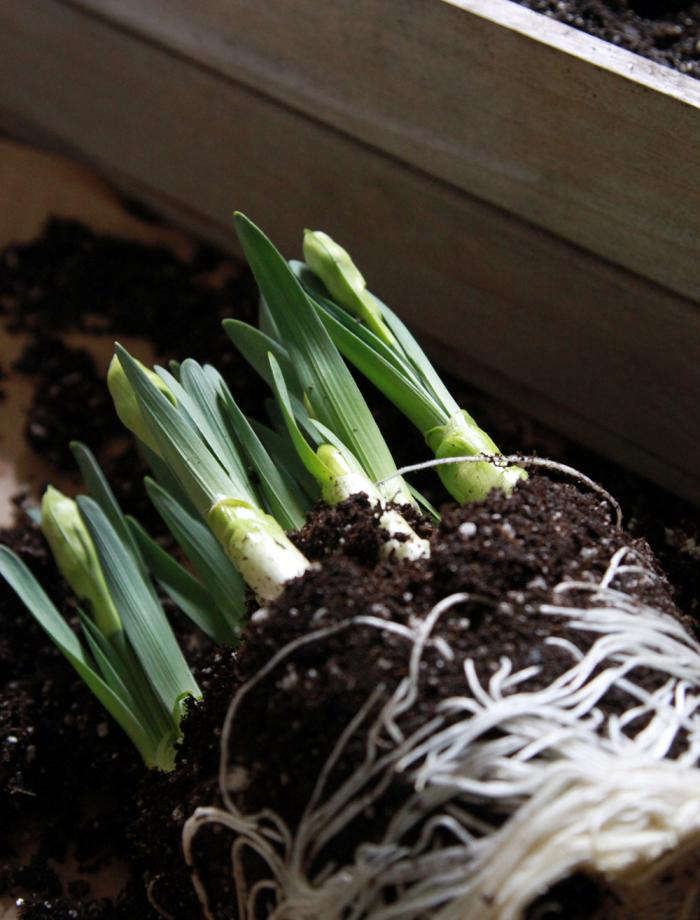
5. Make room for plants.

I worked on a layer of brown paper bags, opened up so that after I finished I could dump any leftover soil into a storage bag (and not leave too much of a mess behind).
Above: I worked on a layer of brown paper bags, opened up so that after I finished I could dump any leftover soil into a storage bag (and not leave too much of a mess behind).

I gently separated some of the root bulbs from the mass to be able to fit them into my narrow box. Daffodil bulbs are hardy, so a little wriggling shouldn’t do any lasting damage.

So many flowering bulbs, so many ways to use them effectively in a flower bed or container garden. Get started with Everything You Need to Know About Bulbs & Tubers and see our curated Garden Design 101 guides to Daffodils, Tulips, and Lily of the Valley. And read more at:

(Visited 2,987 times, 15 visits today)
You need to login or register to view and manage your bookmarks.

Product summary  

Have a Question or Comment About This Post?

Join the conversation

v5.0