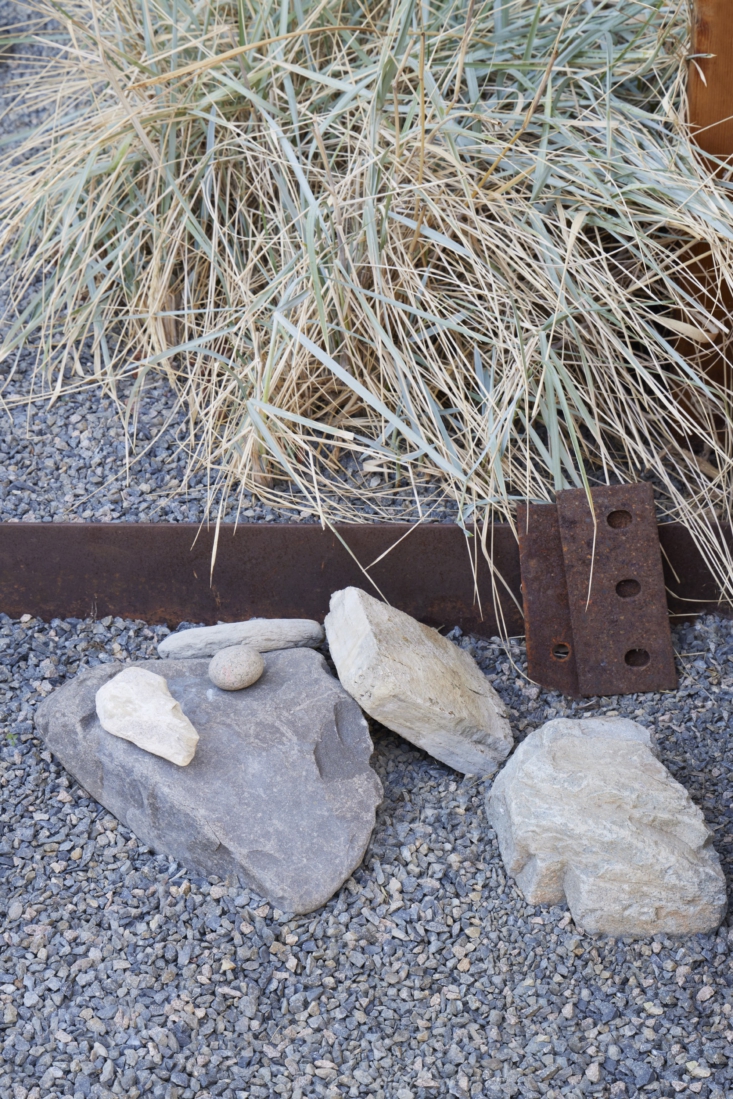
The gravel garden has never been more popular, thanks to the pressures of climate change, the increasing interest in drought-tolerant planting—and the strange misconception that it is somehow more low-maintenance than lush and abundant borders. Dry gardens generally mimic the conditions of stony, arid landscapes, where plants evolve to thrive in harsh, often hot conditions. As such they are normally sited in a sunny position in gardens where free-draining soil already lends itself to this kind of planting. Before you embark on your own project, read on for lessons I’ve learned from creating and tending my own dry garden.
N.B.: Featured photograph above by Clare Coulson, from Expert Advice: 11 Tips for Gravel Garden Design.
1. Dry doesn’t mean completely dry.

Ideally you will have chosen drought-tolerant plants that can cope with the conditions of a hot garden, but you will still need to help plants retain moisture. Ensure that you plant everything very well in good soil and water them well, too, so that they have the best chance of survival. A gravel mulch will help retain some moisture, and creating a bowl around the planting hole will also help “trap” any rainwater. Avoid any rich mulches that will encourage lush growth, require more moisture, and ultimately stress the plant.
2. Space for generous paths is a must.

Whatever surface material you use for paths or terraces, factor in much more space than you think is necessary. One of the joys of a gravel garden is the random self-seeding that happens as plants pop up all over the place, but over time these free plants can really encroach over paths or seating areas. So make paths and seating areas much wider or bigger than you want them to be.
3. Not all self-seeders are equal.

Plants that freely seed themselves around are a welcome addition to most gardens. But in a garden made with gravel, some plants that are left to seed can quickly stage a takeover of the entire space. The easiest way to control them is with judicious dead-heading, removing the main offenders ahead of winter, when perennial seeds are most likely to scatter.
4. You need the right kind of gravel.

Yes, any gravel will do but take the time to think about the type of stone you’d like to use. A 10mm pea shingle is a good standard groundcover for paths, but there are so many choices of aggregates and self-binding gravels in pale golden shades that can provide a stunning backdrop to perennial plants.
5. You’ll need a strong sub-base, too.

What happens beneath the gravel is key. Paths need to be built on a strong permeable sub-base of at least four inches. Most firms selling these products have a calculator so you can work out how many tonnes you’ll need. Once your sub-base material is spread out, you will need to use a vibrating plate to firm it up and make a stable surface. Gravel or other stones can then be spread on top of this stable base and around the plants as an additional mulch.
6. You may miss out on spring—unless you plan for it.

An additional layer of planting using bulbs will ensure that in spring and early summer, before many perennials have hit their stride, you can still have a good display. Choose a range of bulbs that will flower in succession, and will need little maintenance such as narcissi, Iris reticulata, Allium cristophii, and bearded iris, which will love the free-draining, sunny conditions of the dry garden.
7. Gravel gardens can be pollinator heavens.

One of the most joyful benefits of a gravel garden full of bee-friendly planting is that it will be alive with insects, bees, ladybirds, moths, and butterflies all summer. By carefully combining plants and ensuring a succession of flowering you can boost this further; alongside summer-flowering perennials (such as buddleia, verbena, hebes) and herbs (like marjoram or oregano), add later flowering perennials, too, including sedums, eupatorium, gaura, and monarda to keep pollinators buzzing right through autumn.
8. Beware those tap roots.

Plants have a variety of root systems and those with a taproot, which is a large central root that goes deep into the soil, are amongst the most difficult to remove. In gravel gardens where plants tend to hop around, seeding themselves happily into paths, those long fibrous tap roots can end up deep into a substrate making them almost impossible to pull out. Fennel, verbascums, baptisia, and lupins are amongst the plants that are trickier to remove, so plant them in well-thought out positions and beware their self-seeding tendencies.
9. They’re higher maintenance than you think.

If you choose lots of perennial and biennial plants, then the biggest misconception about gravel gardens is that somehow, less soil equals less work. It’s a fallacy. A garden with gravel will need just as much weeding and cutting back as regular borders. The only time-saver (arguably) is that during the growing season, you are unlikely to ever water your gravel garden. But by choosing more structural and evergreen plants, you can significantly reduce the amount of work involved.
10. They can be left to stand through winter.

Dry gardens tend to be designed for high summer and early autumn, when perennials—including Verbena bonariensis, eryngiums, lavender, perovskia, rosemary, fennel, salvias, and ornamental grasses—all tend to be at their peak. But those same plants all retain their structure through the winter too, providing an incredible ghostly landscape when frosts and ice strike.
See also:
- 10 Favorites: Stalwart Plants that Thrive in Hot Gardens
- Low-Cost Luxe: 9 Pea Gravel Patio Ideas to Steal
- 11 Ideas to Steal from Drought-Tolerant Gardens


Have a Question or Comment About This Post?
Join the conversation (0)