My favorite arrangements to make for the holidays are those inspired by my natural surroundings. What better way than to take a walk in the woods, on the beach, in the mountains, finding unlikely elements for a wild, seasonal arrangement? When making a wild and foraged arrangement, I tend to choose a foliage that can serve as a base, and help guide the feel of the arrangement.
Photographs by Sophia Moreno-Bunge.

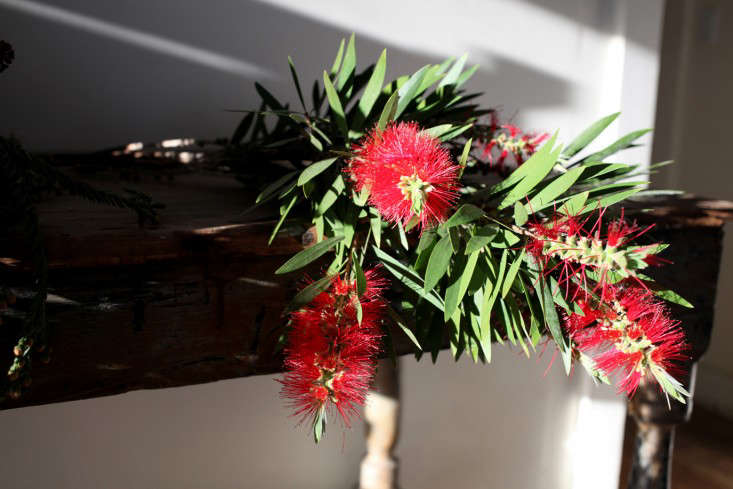
Above: This year, I decided to use castor clippings as my base, since they grow rampantly all along the Pacific Coast Highway in California where I find myself for the holidays. I love the star-like shapes of the leaves, and their surreal size. I also decided to use one of my favorites, foraged bottle brush–a tree that screams California Christmas to me, because of its luscious red color.

Above: Star-shaped castor leaves.

Above: Bright red bottle brush. With castor and bottle brush on my mind, I took a trip to the downtown Los Angeles Flower Market in search of a few more “ingredients” for my holiday arrangement.

Above: At the market I chose striped red and white amaryllis, a beautiful bundle of pine (whose bunch shapes are incredible) and some wild rose hip branches.

Above: All of the ingredients. In addition to your flowers and greenery, you’ll also need a large vase, preferably with a tapered opening to keep your stems from spilling out, and a pair of clippers.

Above: To begin, I fill the vase with water and add my castor and pine base, creating an architectural shape. The beauty of this sort of arrangement is that you can supplement with your own floral materials, and use whatever you have handy as your foliage base. Make sure you cut your stems at a diagonal, and leave each stem as long as your vase will allow so they reach the bottom of the vase and can drink as much water as possible (you can measure the stem up to the vase before you cut it!).

Above: I added a cascade of bottle brush on one side of my arrangement, accentuating its natural shape.

Above: Next I added rose hip branches. And last, three stems of amaryllis (or your own floral choice). Amazingly, the amaryllis buds will continue to bloom over the next few says, filling out the arrangement even more.

Above: The finished product.
Taken by the rose hips? See Rose Hip Wreaths from the Hedgerow. For more seasonal DIY ideas, see all of our Holidays posts.


Have a Question or Comment About This Post?
Join the conversation (1)