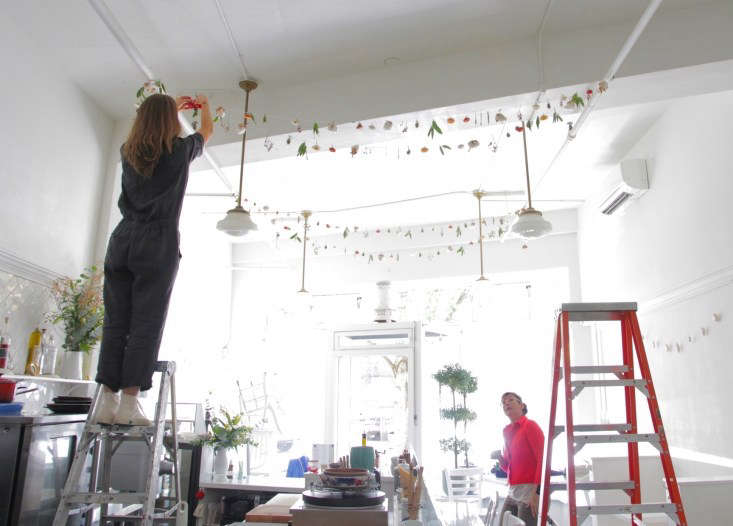
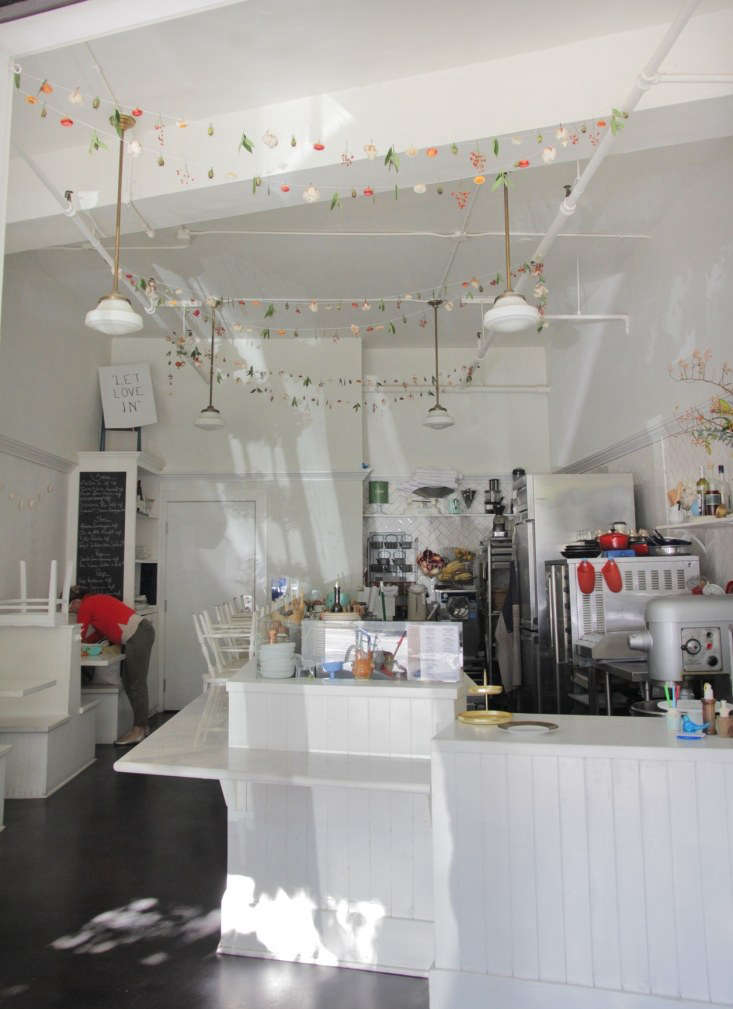
When we featured Måurice, a tiny Norwegian- and French-inspired “modern pastry luncheonette” in downtown Portland, Oregon, we admired an artful garland of dried flowers and leaves strung across the ceiling, and wanted to know more. As it turns out, the garlands are a collaboration between pastry chef and Måurice owner Kristen D. Murray and local floral designer Hilary Horvath.
Interested? We asked for their tips for creating a thoughtful botanical garland, suitable for the holidays and beyond. Here’s how.
Photography by Michael Paulus, courtesy of Måurice.
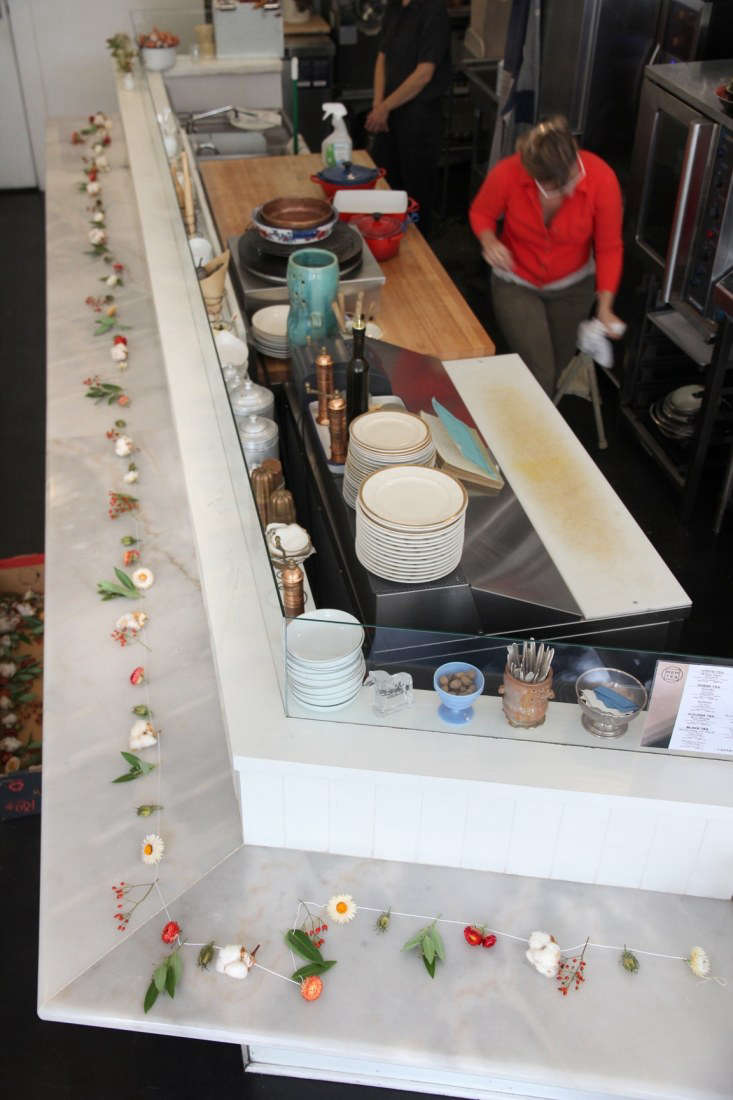
Materials:
- Several small cuttings and botanical finds
- Herb or flower scissors
- Rayon string
- A long, sharp needle
How to:
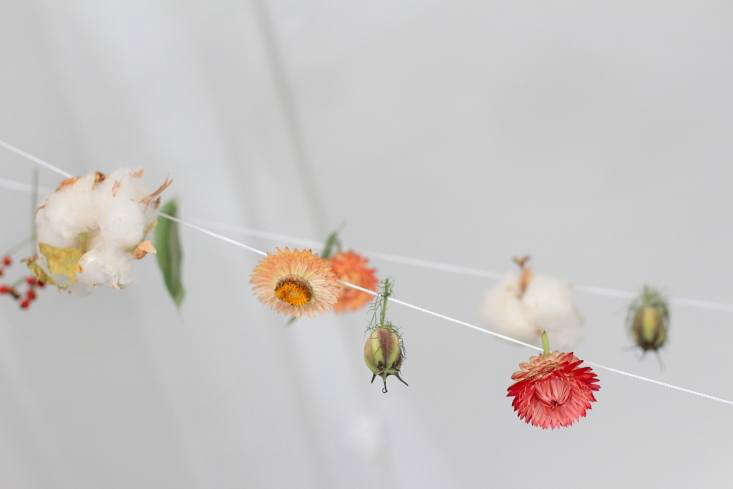
- Select small botanical finds for the season, like flower heads, leaves, seed pods, bunches of cotton, and berries.
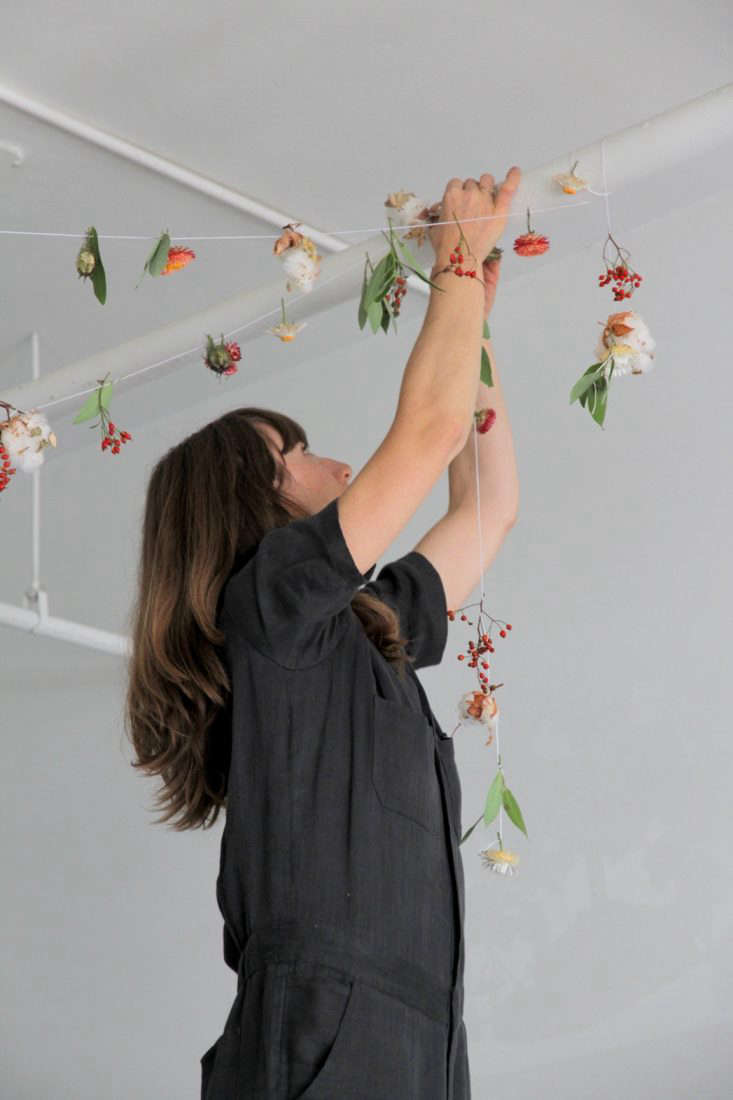
- Using a sharp needle and the rayon string, thread the cuttings one at a time through their stems, leaves, or centers. Aim for imperfection.
- When finished, hang the garland above a table, across a ceiling, in a doorway, or somewhere festive.
Read on for Murray and Horvath’s tips:

Source Local
“I always try to source locally grown elements,” says Horvath. “For these garlands, cotton was the only element that was not local. Foraged items are great—I like tiny pinecones. It’s best for them to be as fresh as possible, as it’s easier to sew through stems that are supple and have bend to them, as opposed to being dry and brittle.” Because the cuttings used are small, discarded stems and flower heads from arrangements that guests bring over, or found leaves and branches from a nature walk, can work well.
Choose Cuttings for the Season
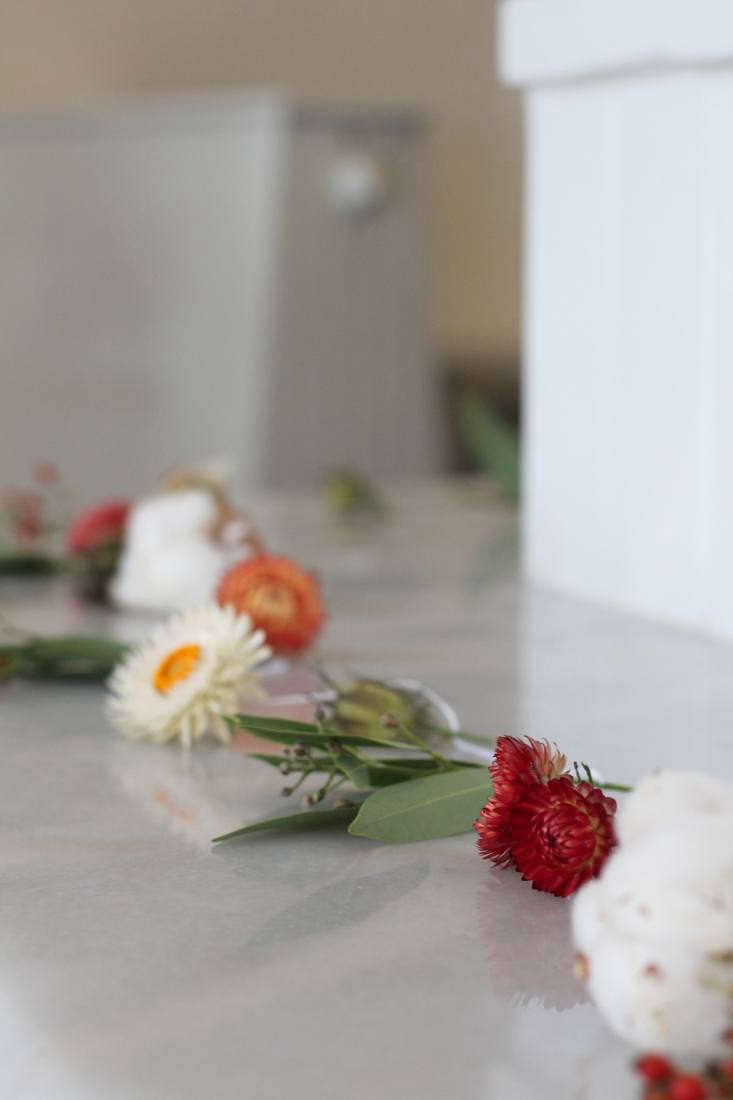
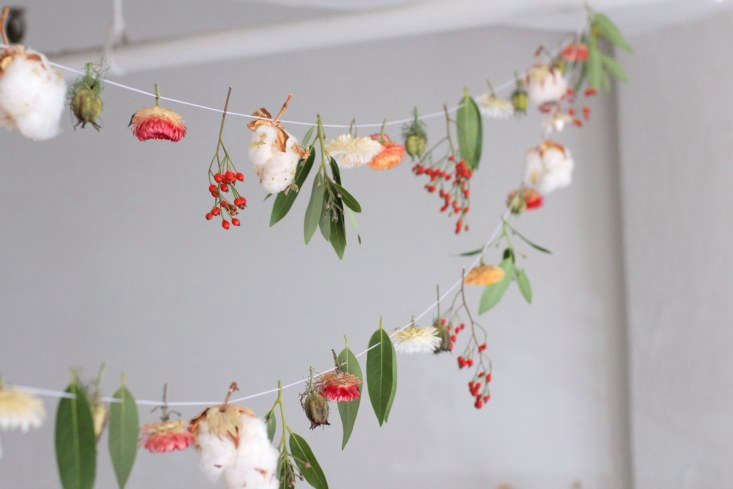
“I usually have an idea of what I’d like, and then we bounce ideas and realities of what would dry best,” says Murray. “Three elements are always in the mix: Cotton as it is arduous to pick, as pastry is to make. Bay leaf, as it’s a reminder of home to me, growing up in California. Rose hips for my Scandinavian roots.”
Or, Take Inspiration from the Holidays
For Thanksgiving, Murray recommends choosing “leaves, persimmons, tiny apples”; and for Christmas, “magnolia, orange slices, holly berries.”
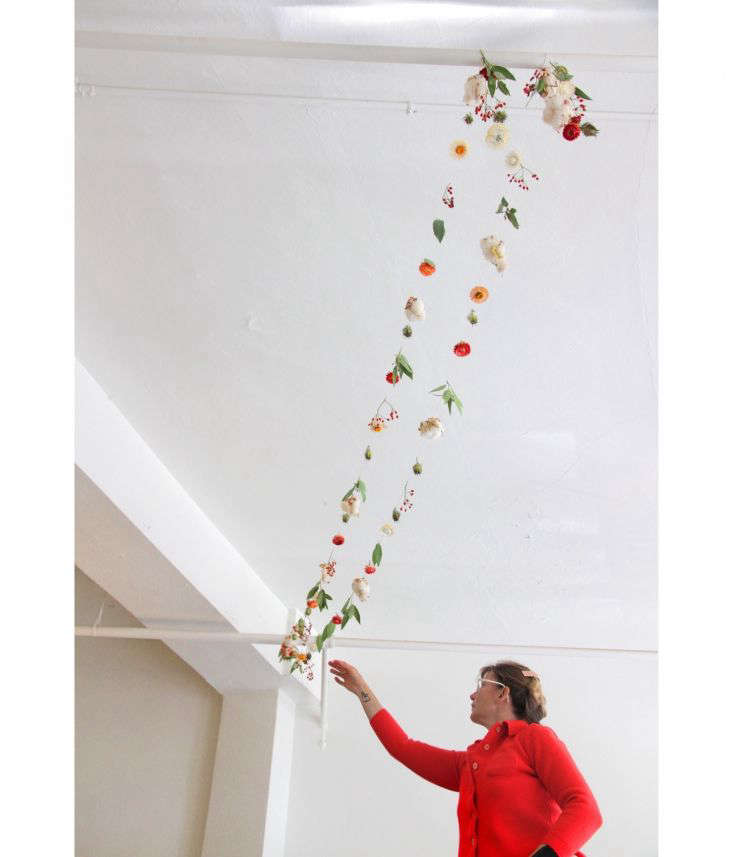
Consider Shape
Horvath advises: “The best things to use are those that will keep their shape and color when they dry. The stem cannot be too hard or thick to thread a needle.” Look for cuttings with softer stems, leaves you can thread through, or seed pods with thin shells.
Get the Right Supplies
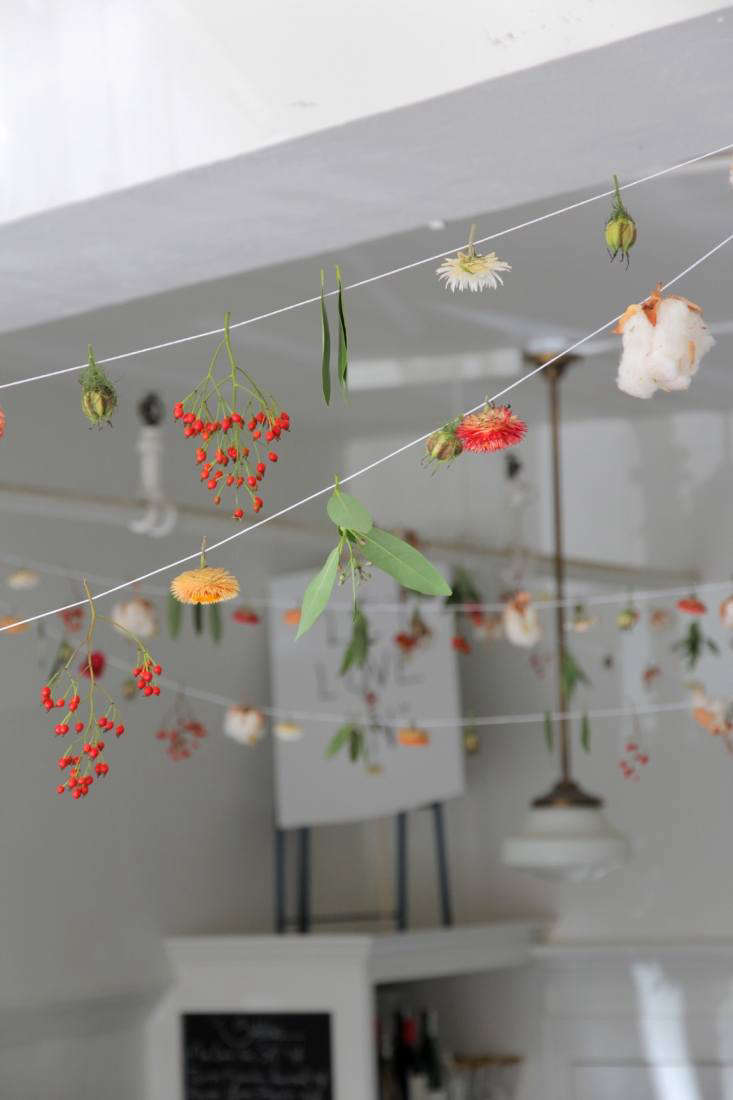
The neatness and simplicity of the garland comes from the fact that the string is threaded through, not tied around, the flower stems and leaves. To do this, make sure to use a sturdy string and a sharp needle. Horvath suggests using rayon string—”the kind used for making tassels,” she says. “The needle is from a class I took to make himmeli, the Finnish Christmas ornaments, and it works great, but any long, skinny needle should work.”
Let It Be Impromptu
Murray and Horvath don’t follow a pattern for the garlands. “The pattern is impromptu—thoughtful but not symmetrical,” Horvath says. “I don’t knot the items so that the spacing can be adjusted once in place.”
Make It Endure
The garland lasts because the cuttings dry out once hung. At the restaurant, Murray and Horvath change the garland three times per year, according to the season (“we really only have three seasons in Oregon,” Murray says). “Once dried and in a safe place where they are not getting banged, they will last forever,” adds Horvath.
Hang It Up
Where to hang your new garland? Murray suggests a space with a high ceiling, or a “favorite window, naked wall, over your bed, kitchen table, bathroom. Really anywhere your heart desires.”
More in holiday DIYs:
- DIY: A Dried Fruit Garland for the Holidays
- DIY: Simple Advent Wreaths Made from Foraged Flora
- DIY: God’s Eye Ornaments with a Scandi Twist




Have a Question or Comment About This Post?
Join the conversation (0)