Fall is the season for pumpkins, leaf peeping, and enjoying the last bit of warm sunshine before winter kicks in. And if you love garlic, it’s also the perfect time to plant it for a summer harvest. Garlic needs the winter to grow, so it’s critical to get it in the ground before it freezes.
Garlic is an incredibly easy vegetable to grow with very little effort—so much so that even a novice gardener can harvest a good sized crop on the first try. It doesn’t need much space or attention and can reward you with tasty scapes in the spring and hearty bulbs in the summer.
Here are a few tips and tricks to make your planting now and harvest next year a success.
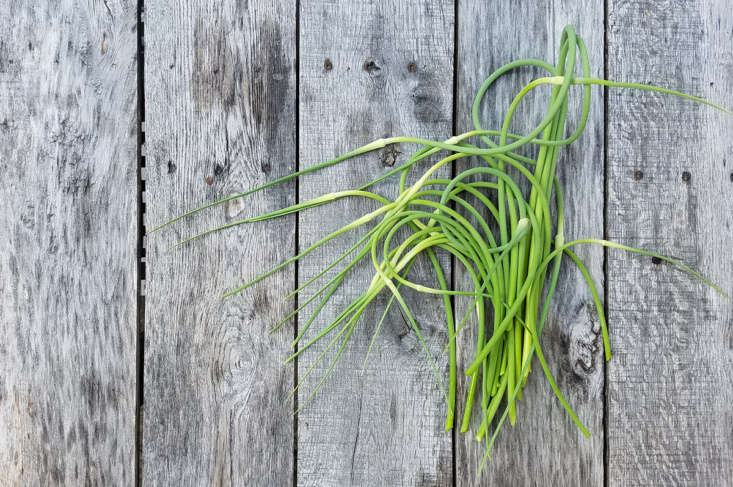
Featured photograph by Marie Viljoen, from Gardening 101: Garlic.
1. Don’t plant grocery store garlic.

Choose large, healthy garlic bulbs to plant. While you can buy them from your farmers’ market, they are best purchased from a good quality seed company. Stay away from grocery store garlic. It may have been treated with pesticides, left too long in storage, or from a growing area that’s not similar to yours. Any or all of these conditions could cause a poor harvest—or no harvest—in July.
2. Grow at least two varieties of garlic.

One hardneck and one softneck. Different varieties taste different and store for different lengths of time. Hardneck garlic puts out scapes in the spring. Scapes are the flower stalks and are removed when they bend. They are very yummy and are wonderful sautéed. They are a bonus!
3. Stick to the edges.

Plant along the edges of your bed. This serves two purposes. First, it leaves the main section of the bed for other plants and leaves the garlic undisturbed. Second, garlic can repel small critters, like rabbits, from nibbling your tender lettuce and carrot tops. Garlic does really well in containers, too, if you have limited bed space.
4. Make sure the soil is healthy.

If you’ve done a good job of keeping your soil healthy with regular amendments of compost, you shouldn’t need fertilizer. However, if you have had issues with plants not thriving, a soil test is in order. You can’t properly fix the issue if you don’t know what’s wrong. A soil test will tell you what you need to do. To plant, gently break the head apart into cloves. Keep the papery covering on them. Dig a hole about two to three inches deep. Plant the clove large side down and pointy side up and cover. Plant them four to six inches apart, depending on the variety of garlic. The larger the bulb, the more space it needs.
5. Mulch.

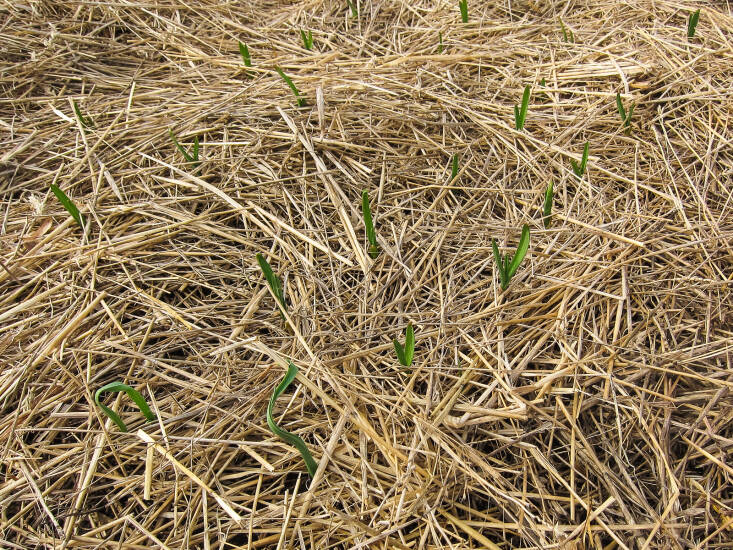
Since the bulbs overwinter, they need a bit of protection, especially in raised beds and containers. Mulch thickly with leaves, grass clippings, pine needles— about two to three inches deep. You want to keep the soil from drying out and to moderate the temperature. The cloves are planted only two inches below the surface, making them vulnerable to frost heaving. Mulching helps keep the temperature from fluctuating widely. And should you have a dry winter, the cloves won’t dry out if they are mulched properly.
For more on garlic, see:


Have a Question or Comment About This Post?
Join the conversation