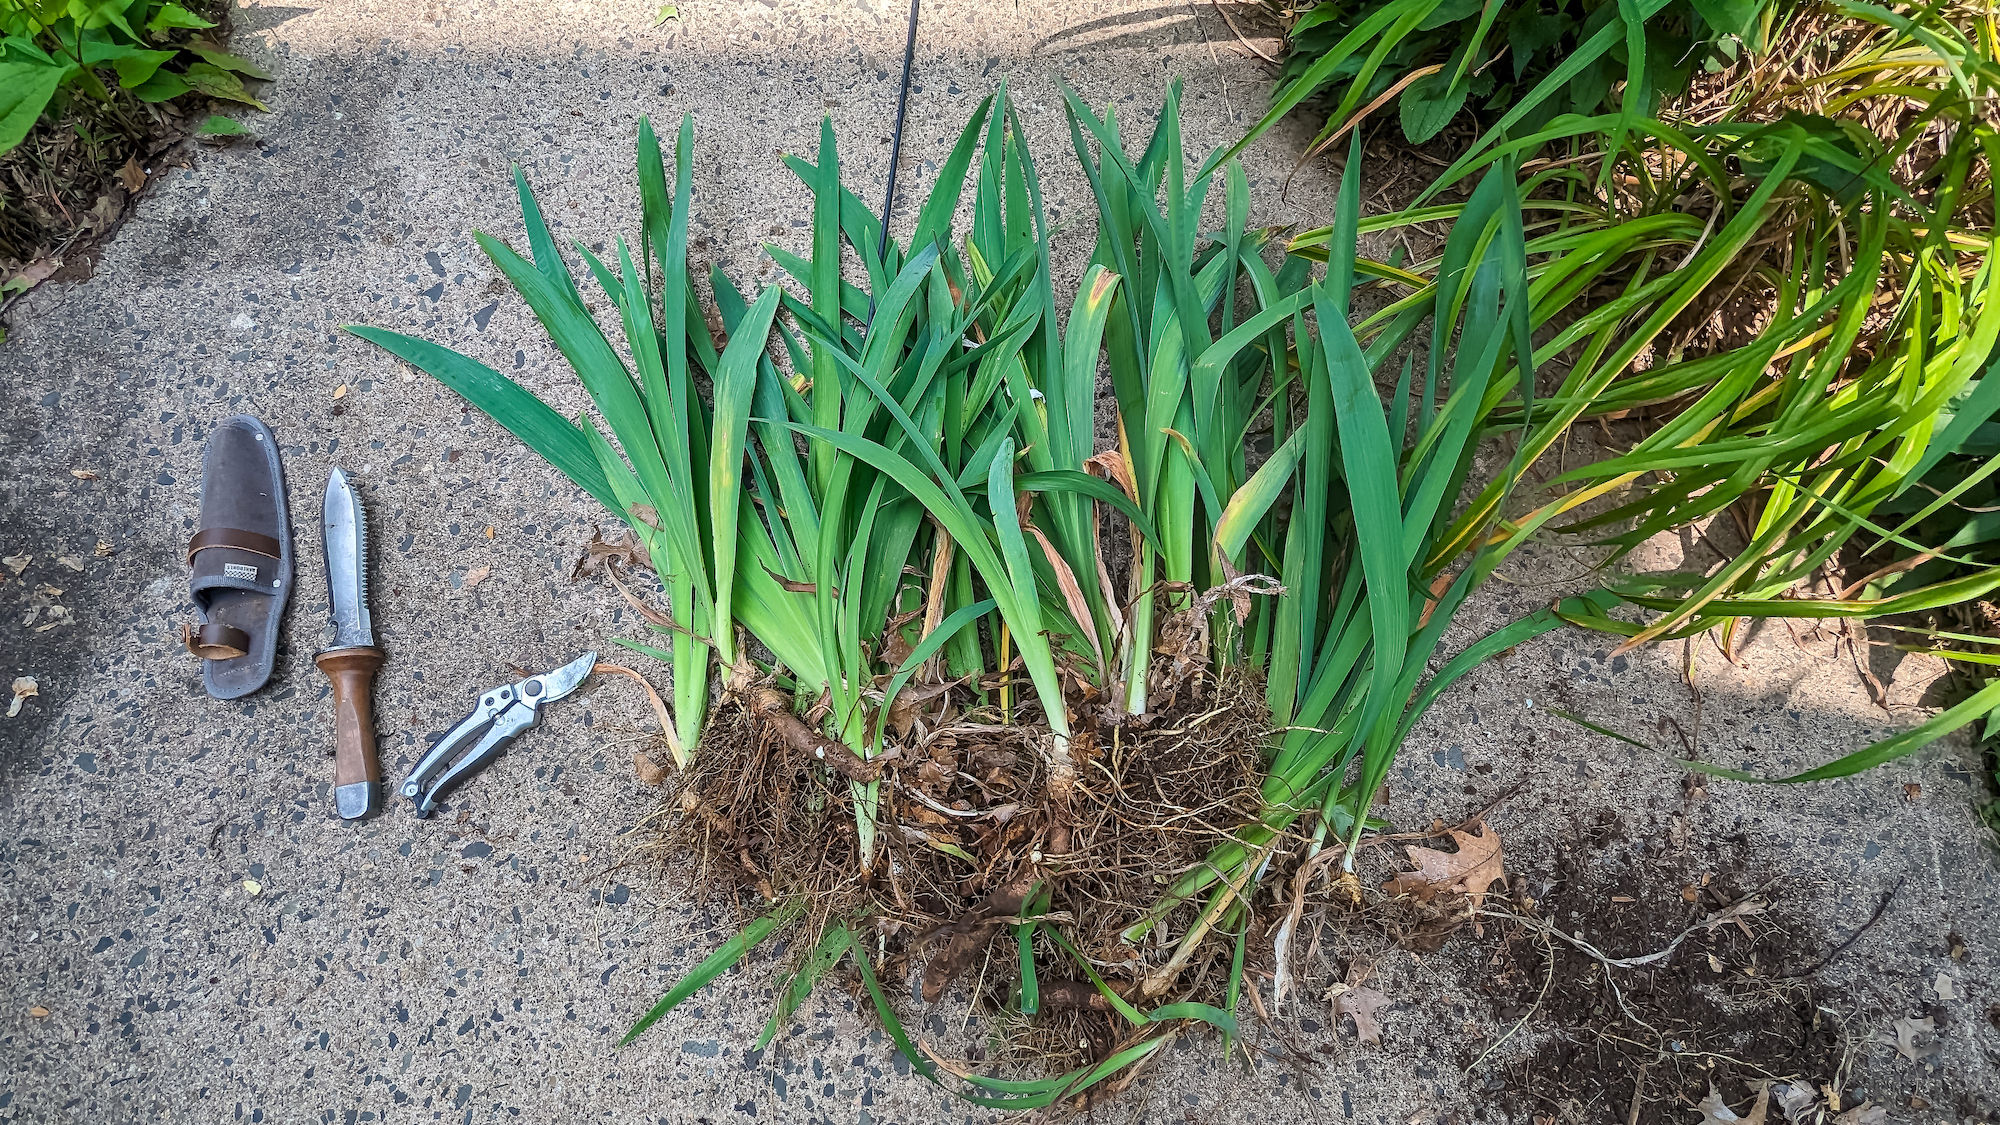
While summer is normally the time to kick back and enjoy the literal fruits of your labor, there may still be a few gardening tasks lurking—such as that overgrown patch of past-bloom irises that need to be divided.
Photography by Joy Yagid, unless otherwise noted.
Maybe they are too crowded, maybe they aren’t blooming as much as before, or maybe it’s been three to five years since they were last divided—all are good reasons to divide your irises.
Photograph by Clare Coulson, from Cult of the Bearded Iris.
Bearded irises edge a narrow path at Tattenhall Hall in Cheshire, England.
Step 1: Dig up the irises.
How overgrown your iris patch is will determine what tools you’ll need. Whichever you choose, the goal is to limit damaging the rhizomes.
Once all the rhizomes have been lifted out of the ground, brush the soil off of them. Also toss rhizomes that are mushy and rotten, have iris borer damage, or lack fans of leaves (see below).
Step 2: Find the healthy rhizomes.
Once you have removed the damaged and diseased parts, look at what’s left. They are not fully formed yet and it’s better if they are kept with the section with the fan.
Step 3: Keep a fan of leaves with each division.
Step 4: Divide the rhizomes.
The actual dividing is simple; you can snap them like a carrot, or use a sharp knife.
Step 5: Trim the leaves.
Once you’re finished dividing, trim the leaves. This helps the plants by reducing the amount of leaves it needs to support.
Then replant them in well-draining soil, making sure the top of the rhizome sits above the ground.
Step 6: Replant the divided rhizomes.
Since dividing does divert the plant’s energy to becoming reestablished, the following year may see less flowers.
Step 7: Be patient.